Proxmox-Based Self-Hosted Infrastructure

Self-hosting was something I wanted to build properly instead of relying only on cloud platforms. The goal of this setup was to create a solid local infrastructure using Proxmox, run services inside a dedicated Ubuntu VM with Docker, and securely expose selected services using Cloudflare Tunnel.
This architecture separates infrastructure, services, and access layers to improve scalability, isolation, and security.
Overview
The overall setup consists of:
- Proxmox VE as the hypervisor
- Ubuntu Server VM as the Docker host
- ZFS storage for allocating larger VM disks
- Docker containers for service deployment
- Cloudflare Zero Trust (Tunnel + Access policies) for secure external access
Services deployed:
- WordPress
- MariaDB
- Portainer
- Nginx Proxy Manager
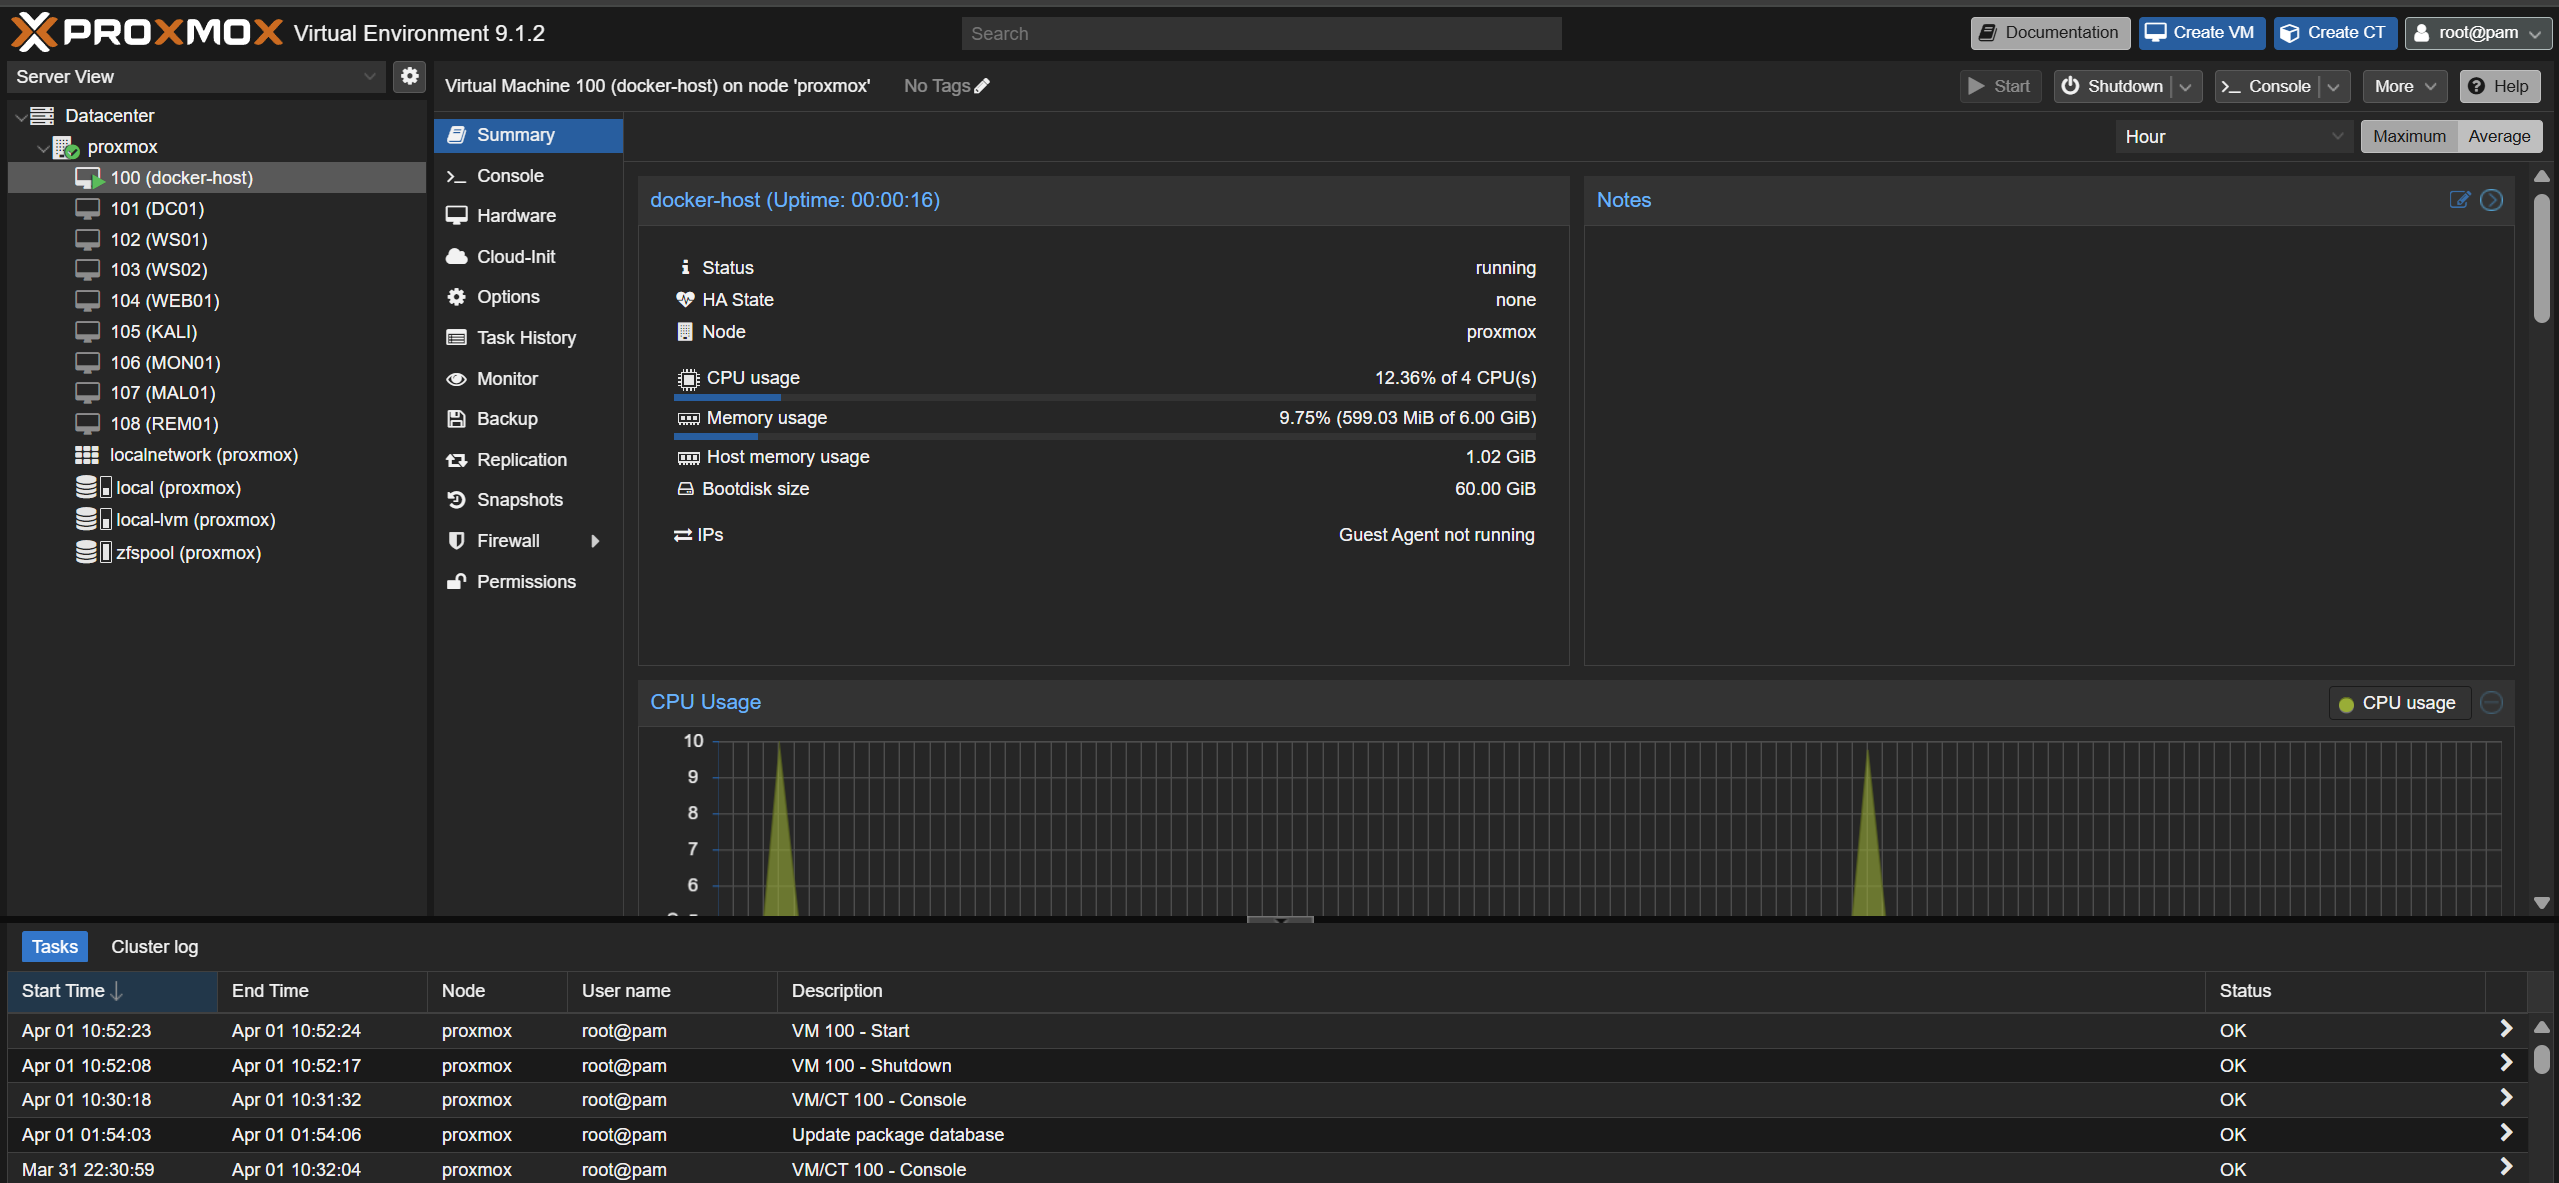
1. Proxmox Setup
Proxmox VE was installed directly on the server using the official ISO.
Basic installation steps:
- Download the Proxmox VE ISO from the official website
- Create a bootable USB drive
- Boot the system using the USB and launch the installer
- Select the target disk and configure storage
- Set hostname, password, and management network (IP, gateway, DNS)
After installation completes, access the Proxmox web interface using:
1
https://<proxmox-ip>:8006
Once the web interface is available, the enterprise repositories should be disabled and replaced with the no-subscription repository.
In the Proxmox UI, go to:
Datacenter -> Node -> Updates -> Repositories
Disable:
pve-enterprisecephenterprise repository if enabled
Then add the No-Subscription repository.
This avoids package update issues on a non-enterprise setup.
2. Creating ZFS Storage
A dedicated disk was prepared and used to create a ZFS pool. This allows larger VM disks to be allocated separately instead of keeping everything on the default storage.
On the Proxmox host, the disk was wiped and a new ZFS pool was created:
1
2
3
4
wipefs -a /dev/sda
sgdisk --zap-all /dev/sda
zpool create -f zfspool /dev/sda
zpool status
After creating the pool, it can be added in the Proxmox UI:
Datacenter -> Storage -> Add -> ZFS
Select the newly created pool and enable the required content types such as disk images and containers.
3. Creating the Docker Host VM
An Ubuntu Server ISO was uploaded to Proxmox and used to create a dedicated VM for Docker.
Recommended VM settings:
- 2 to 4 CPU cores
- 4 to 6 GB RAM
- 50+ GB system disk
- Additional large disk from the ZFS pool
- OpenSSH Server enabled during Ubuntu installation
During the Ubuntu installation:
- use a normal server install
- install OpenSSH Server
- use the entire primary disk for the OS
- create a standard user account
After installation completes, remove the ISO from the VM hardware section before booting again.
In Proxmox:
- select the VM
- go to
Hardware - select the CD/DVD drive
- detach it or set media to
None
4. Assigning a Static IP to the Docker VM
After the VM is installed, a static IP can be configured using Netplan.
First, check the existing netplan file:
1
ls /etc/netplan
Edit the file:
1
sudo nano /etc/netplan/*.yaml
Example configuration:
1
2
3
4
5
6
7
8
9
10
network:
  version: 2
  ethernets:
    enp6s18:
      dhcp4: no
      addresses:
        - 192.168.1.60/24
      gateway4: 192.168.1.1
      nameservers:
        addresses: [8.8.8.8, 1.1.1.1]
Apply the configuration:
1
sudo netplan apply
Verify the assigned address:
1
ip addr show enp6s18
At this point, the VM should be reachable over SSH:
1
ssh <user>@192.168.1.60
5. Adding a Separate Disk for Docker Data
A separate disk was added to the VM from the ZFS pool so Docker data could be stored outside the root filesystem.
In Proxmox:
- select the VM
- go to
Hardware - click
Add -> Hard Disk - choose the ZFS pool
- allocate the required size, such as 500 GB
Inside the Ubuntu VM, the new disk was formatted and mounted to /var/lib/docker.
First, identify the disk:
1
lsblk -o NAME,SIZE,TYPE,MOUNTPOINT,FSTYPE
Then format and mount it:
1
2
3
sudo mkfs.ext4 /dev/sdb1
sudo mkdir -p /var/lib/docker
sudo mount /dev/sdb1 /var/lib/docker
To make the mount persistent across reboots:
1
2
echo "/dev/sdb1 /var/lib/docker ext4 defaults 0 2" | sudo tee -a /etc/fstab
sudo mount -a
This keeps Docker images, volumes, and containers on the larger dedicated disk.
6. Installing Docker
Docker was installed using Docker’s official repository instead of the default Ubuntu package.
First install prerequisites:
1
2
sudo apt update
sudo apt install -y ca-certificates curl gnupg lsb-release
Add Docker’s GPG key:
1
2
3
sudo install -m 0755 -d /etc/apt/keyrings
curl -fsSL https://download.docker.com/linux/ubuntu/gpg | \
sudo gpg --dearmor -o /etc/apt/keyrings/docker.gpg
Add the Docker repository:
1
2
3
4
5
echo \
"deb [arch=$(dpkg --print-architecture) signed-by=/etc/apt/keyrings/docker.gpg] \
https://download.docker.com/linux/ubuntu \
$(lsb_release -cs) stable" | \
sudo tee /etc/apt/sources.list.d/docker.list > /dev/null
Install Docker:
1
2
sudo apt update
sudo apt install -y docker-ce docker-ce-cli containerd.io docker-buildx-plugin docker-compose-plugin
Enable the service:
1
sudo systemctl enable docker --now
Add the current user to the Docker group:
1
2
sudo usermod -aG docker $USER
sudo reboot
After reboot, Docker should work without sudo.
7. Installing Portainer
Portainer was used to manage containers and stacks from a web interface.
Create the Portainer volume:
1
docker volume create portainer_data
Run Portainer:
1
2
3
4
5
6
7
8
docker run -d \
  -p 9443:9443 \
  -p 9000:9000 \
  --name portainer \
  --restart=always \
  -v /var/run/docker.sock:/var/run/docker.sock \
  -v portainer_data:/data \
  portainer/portainer-ce:latest
Access Portainer at:
1
https://192.168.1.60:9443
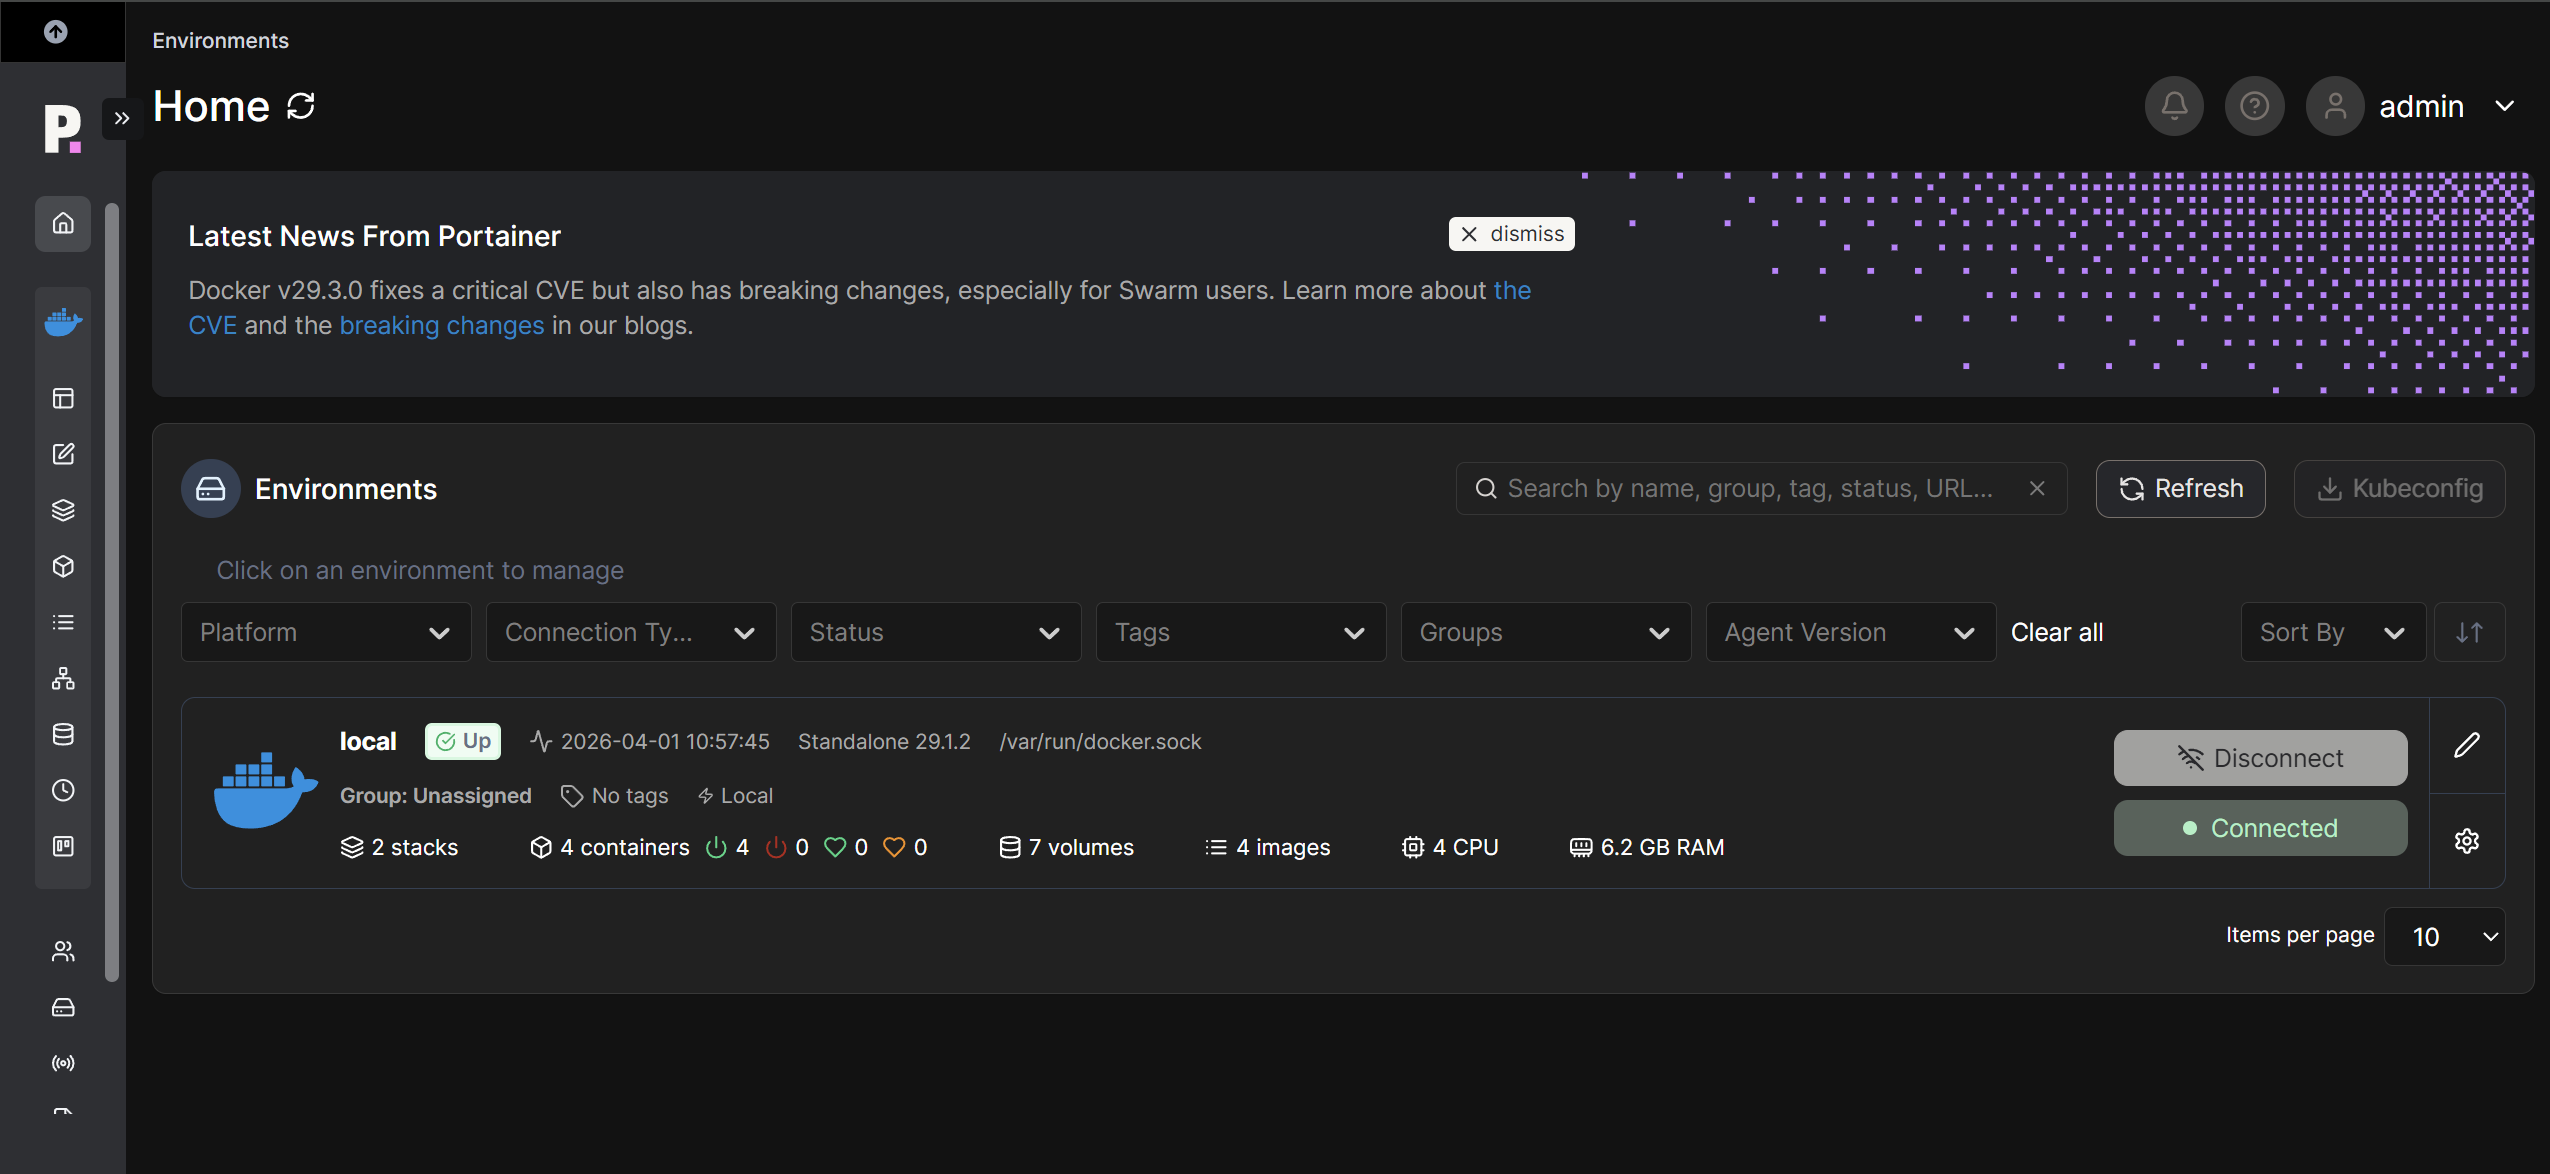
From there, the local Docker environment can be managed through the browser.
8. Deploying Nginx Proxy Manager
Nginx Proxy Manager was deployed using a Portainer stack.
In Portainer, go to:
Stacks -> Add stack
Use the following compose file:
1
2
3
4
5
6
7
8
9
10
11
12
13
14
15
16
17
18
19
version: "3.9"

services:
  npm:
    image: jc21/nginx-proxy-manager:2
    restart: unless-stopped
    ports:
      - "80:80"
      - "81:81"
      - "443:443"
    environment:
      TZ: "Asia/Kolkata"
    volumes:
      - npm_data:/data
      - npm_letsencrypt:/etc/letsencrypt

volumes:
  npm_data:
  npm_letsencrypt:
Once deployed, the Nginx Proxy Manager admin interface is available at:
1
http://192.168.1.60:81
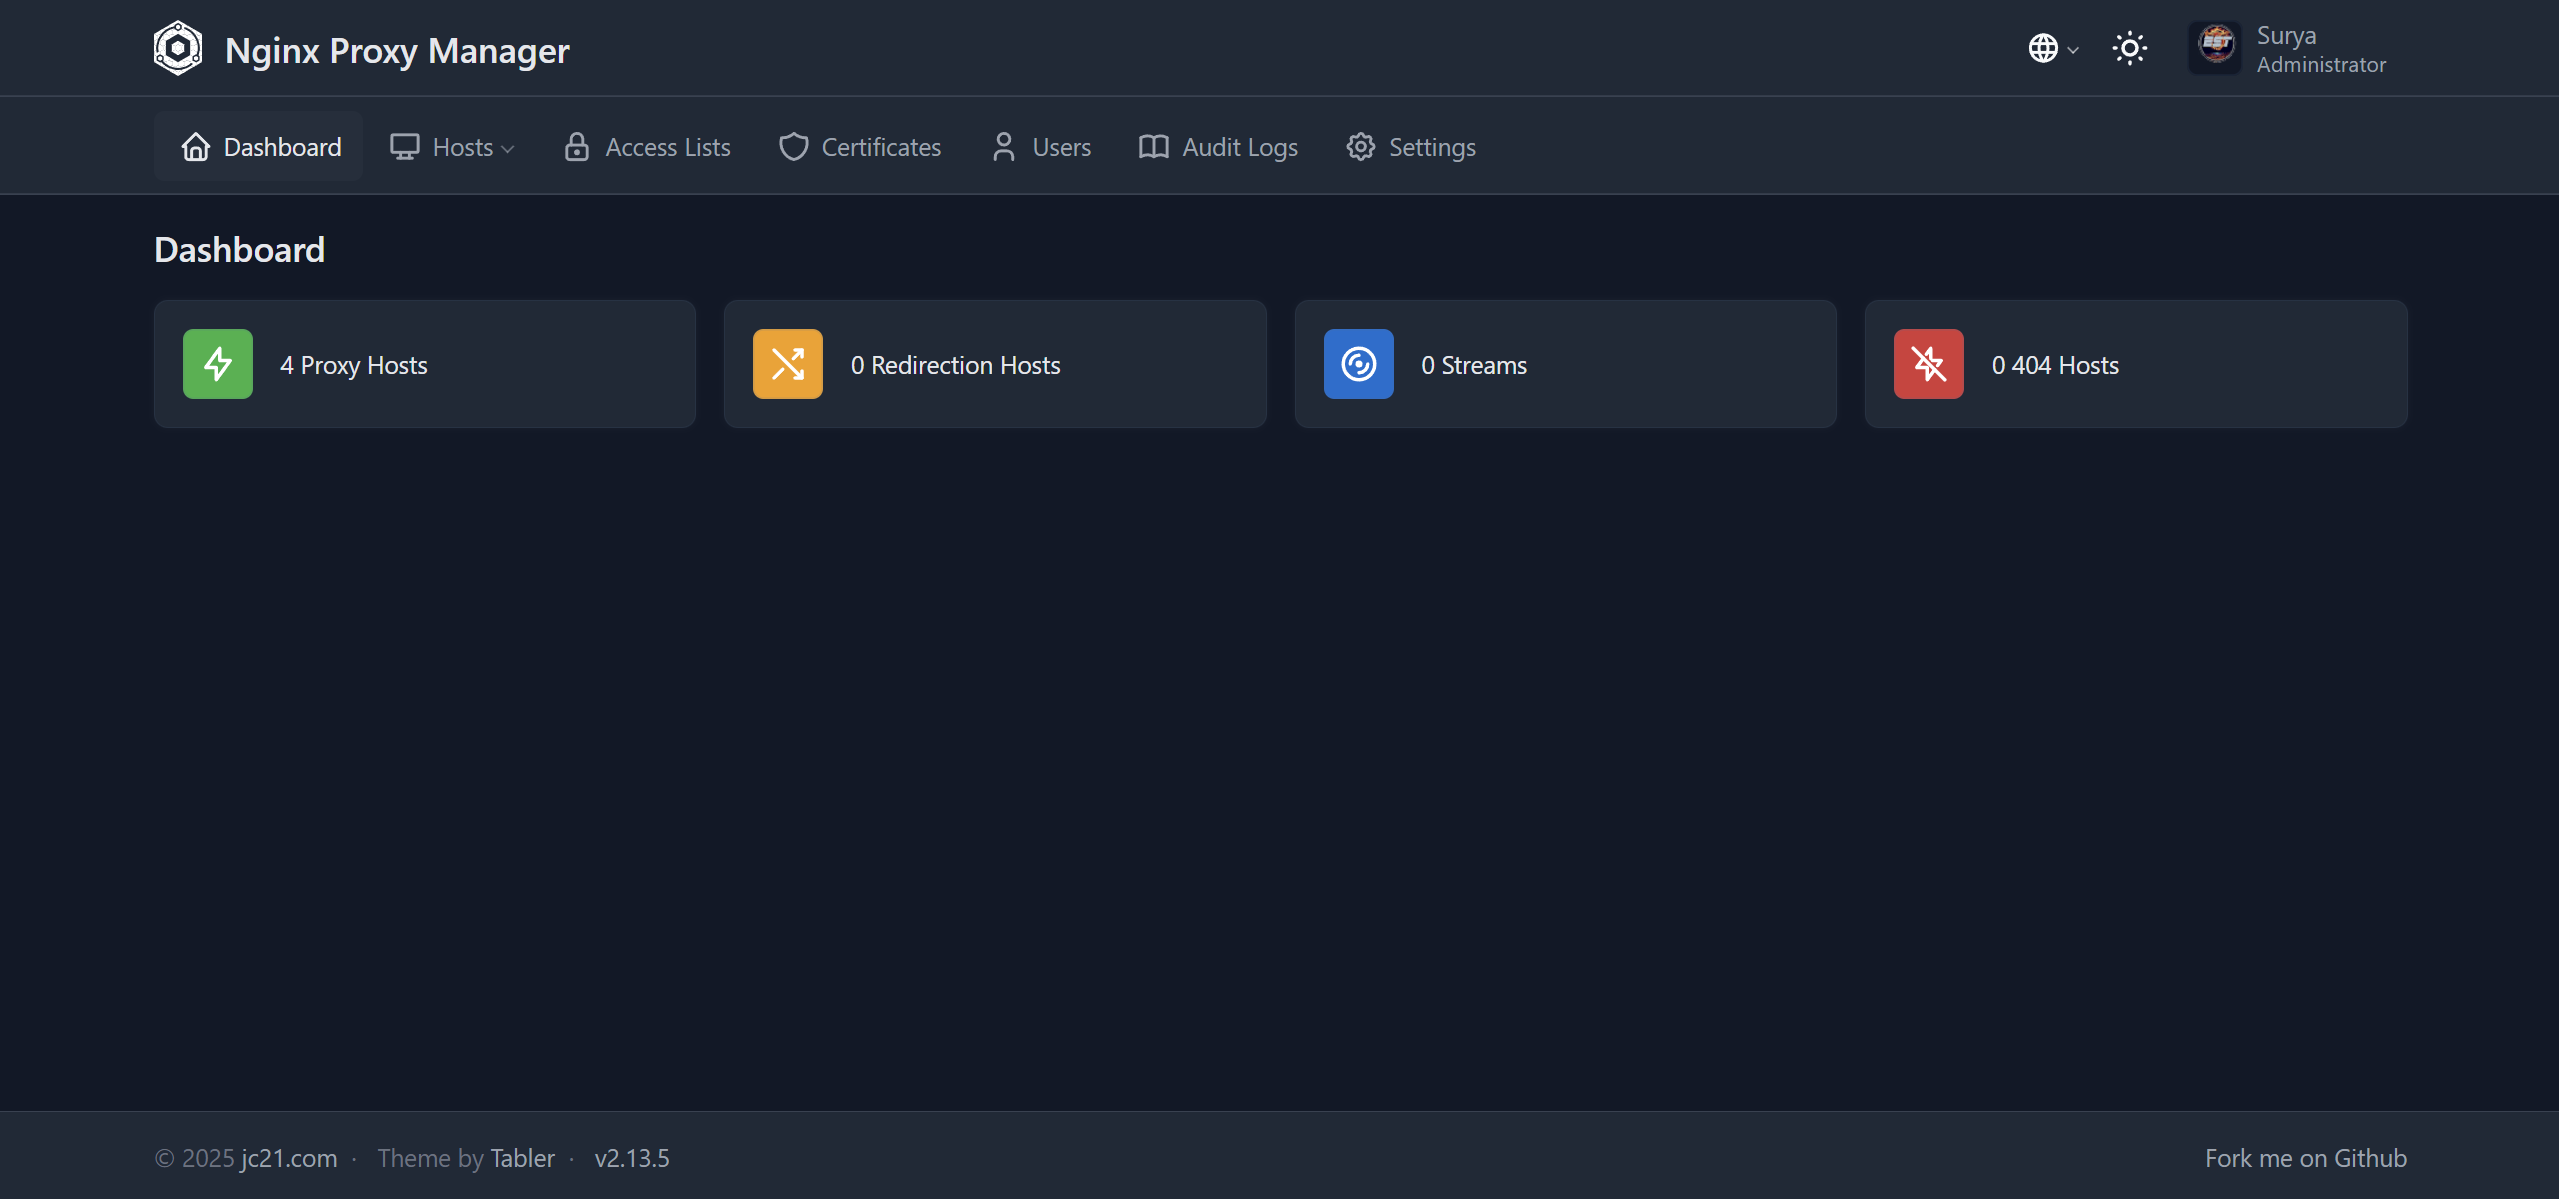
This is used later to create reverse proxy entries for services.
9. Deploying WordPress and MariaDB
WordPress and MariaDB were deployed together using Docker Compose.
In Portainer, create another stack with the following file:
1
2
3
4
5
6
7
8
9
10
11
12
13
14
15
16
17
18
19
20
21
22
23
24
25
26
27
28
29
30
31
32
version: "3.9"

services:
  mariadb:
    image: mariadb:10.7
    container_name: mariadb
    restart: always
    environment:
      MYSQL_DATABASE: wpdb
      MYSQL_USER: wpuser
      MYSQL_PASSWORD: <your-password>
      MYSQL_ROOT_PASSWORD: <your-password>
    volumes:
      - db_data:/var/lib/mysql

  wordpress:
    image: wordpress:latest
    container_name: wordpress
    restart: always
    ports:
      - "8080:80"
    environment:
      WORDPRESS_DB_HOST: mariadb
      WORDPRESS_DB_NAME: wpdb
      WORDPRESS_DB_USER: wpuser
      WORDPRESS_DB_PASSWORD: <your-password>
    volumes:
      - wp_data:/var/www/html

volumes:
  db_data:
  wp_data:
After deployment, WordPress is accessible at:
1
http://192.168.1.60:8080
At this point, the WordPress initial setup can be completed from the browser.
10. Configuring Nginx Proxy Manager
After WordPress is running, a reverse proxy entry can be created in Nginx Proxy Manager.
In Nginx Proxy Manager:
- go to
Hosts -> Proxy Hosts -> Add Proxy Host - set the domain name
- forward to the Docker VM IP and WordPress port
- enable SSL if required
For local-only testing, a temporary hostname can also be added to the Windows hosts file:
1
C:\Windows\System32\drivers\etc\hosts
Example entry:
1
192.168.1.60 wp.local
This allows the site to be accessed using a custom local name before exposing it externally.
11. Cloudflare Tunnel Setup
Cloudflare Tunnel was used to expose local services securely without port forwarding and without requiring a static public IP.
Install cloudflared inside the Docker host VM:
1
2
3
4
5
6
sudo apt update
sudo apt install -y wget
cd /tmp
wget https://github.com/cloudflare/cloudflared/releases/latest/download/cloudflared-linux-amd64.deb
sudo apt install ./cloudflared-linux-amd64.deb
cloudflared --version
Authenticate with Cloudflare:
1
cloudflared tunnel login
This opens a browser and asks for Cloudflare authentication and domain selection.
Create the tunnel:
1
cloudflared tunnel create wp-tunnel
Create the Cloudflare config directory:
1
mkdir -p ~/.cloudflared
Then create the tunnel configuration file:
1
nano ~/.cloudflared/config.yml
Example configuration:
1
2
3
4
5
6
7
8
9
10
11
12
13
14
15
16
17
tunnel: wp-tunnel
credentials-file: /home/<user>/.cloudflared/<tunnel-id>.json

ingress:
  - hostname: yourdomain.com
    service: http://192.168.1.60:8080
  - hostname: portainer.yourdomain.com
    service: https://192.168.1.60:9443
    originRequest:
      noTLSVerify: true
  - hostname: npm.yourdomain.com
    service: http://192.168.1.60:81
  - hostname: proxmox.yourdomain.com
    service: https://<proxmox-ip>:8006
    originRequest:
      noTLSVerify: true
  - service: http_status:404
Create the DNS route for the hostname:
1
cloudflared tunnel route dns wp-tunnel yourdomain.com
Install the tunnel as a service:
1
2
3
sudo cloudflared service install
sudo systemctl enable cloudflared
sudo systemctl start cloudflared
This makes selected services accessible through Cloudflare-managed hostnames without exposing the local network directly.
12. Configuring Cloudflare Zero Trust Access
After setting up the Cloudflare Tunnel, Zero Trust Access policies were configured to control access to exposed services.
In the Cloudflare dashboard:
- Go to Zero Trust -> Access -> Applications
- Create a new application
- Select Self-hosted
- Enter the domain configured for the service
Configure access policies:
- Define allowed users (email-based or identity provider)
- Set authentication rules (one-time PIN or SSO)
- Restrict access based on identity instead of network exposure
This adds an additional security layer on top of the tunnel by enforcing authentication before allowing access to internal services.
13. Optional: macvlan Networking for Static Container IPs
A separate internal network was later created to give containers their own fixed IP addresses.
First, add a second network adapter to the Docker VM in Proxmox and attach it to a different bridge such as vmbr1.
Inside the VM, configure the interfaces with Netplan:
1
2
3
4
5
6
7
8
9
network:
  version: 2
  ethernets:
    enp6s18:
      dhcp4: true
    enp6s19:
      dhcp4: no
      addresses:
        - 10.10.10.2/24
Apply the config:
1
sudo netplan apply
Then create the Docker macvlan network:
1
2
3
4
5
docker network create -d macvlan \
  --subnet=10.10.10.0/24 \
  --gateway=10.10.10.1 \
  -o parent=enp6s19 \
  dockernet
Attach containers with fixed IP addresses:
1
2
3
4
docker network connect --ip 10.10.10.10 dockernet portainer
docker network connect --ip 10.10.10.20 dockernet nginx-proxy-manager-npm-1
docker network connect --ip 10.10.10.30 dockernet wordpress
docker network connect --ip 10.10.10.40 dockernet mariadb
A macvlan shim can also be created using a systemd service so the host can communicate with the macvlan containers.
Create a systemd service:
1
sudo nano /etc/systemd/system/macvlan-shim.service
Add the following content:
1
2
3
4
5
6
7
8
9
10
11
12
13
14
15
16
17
18
19
20
[Unit]
Description=Create macvlan shim and routes for Docker macvlan containers
After=network-online.target docker.service
Wants=network-online.target

[Service]
Type=oneshot
RemainAfterExit=yes

ExecStart=/bin/sh -c '/usr/sbin/ip link add macvlan-shim link enp6s19 type macvlan mode bridge || true'
ExecStart=/bin/sh -c '/usr/sbin/ip addr add 10.10.10.3/24 dev macvlan-shim || true'
ExecStart=/usr/sbin/ip link set macvlan-shim up

ExecStart=/usr/sbin/ip route replace 10.10.10.10/32 dev macvlan-shim
ExecStart=/usr/sbin/ip route replace 10.10.10.20/32 dev macvlan-shim
ExecStart=/usr/sbin/ip route replace 10.10.10.30/32 dev macvlan-shim
ExecStart=/usr/sbin/ip route replace 10.10.10.40/32 dev macvlan-shim

[Install]
WantedBy=multi-user.target
Enable and start the service:
1
2
3
sudo systemctl daemon-reload
sudo systemctl enable macvlan-shim.service
sudo systemctl start macvlan-shim.service
14. Remote Access using Tailscale
Tailscale was used to securely access internal services such as the Proxmox interface from external devices without exposing them publicly.
Install Tailscale on the Docker host VM:
1
2
curl -fsSL https://tailscale.com/install.sh | sh
sudo tailscale up --advertise-routes=10.10.10.0/24
After running the command, a login URL will be generated. Open the link in a browser and authenticate the device.
Once authenticated:
- Navigate to the Tailscale admin console
- Approve the advertised route
10.10.10.0/24
This enables routing to the internal macvlan network through the Tailscale node and provides secure access to internal services such as the Proxmox interface from mobile or remote systems.
Cloudflare Tunnel is used for exposing selected services publicly, while Tailscale is used for secure private access to internal services.
Final Result
At the end of this setup, the environment provides:
- Proxmox-based virtualization
- A dedicated Ubuntu Docker host
- Separate Docker storage on a larger disk
- Portainer for container management
- Nginx Proxy Manager for reverse proxying
- WordPress and MariaDB running locally
- Cloudflare Zero Trust (Tunnel + Access policies) for secure external access
- Optional static container networking with macvlan
- Tailscale for secure private access to internal services